

“Every rose has its thorn,” and when it comes to roses, the biggest thorn of all seems to be propagating them. But I’m convinced that we can solve this mystery together once and for all. So, let’s dive into the world of rose propagation and learn how to grow beautiful roses from cuttings.
Just a few months ago, my wife and I visited the local nursery to select some roses for our garden. We chose varieties that were more old-fashioned and not copyrighted so we could take cuttings without any issues. We selected a range of colors, including red, yellow, lavender, pink, and white. These old-fashioned roses are tried and true, tend to withstand the test of time, and perform well in various conditions.
Roses are typically taken as semi-hardwood cuttings. You want to wait for new succulent growth to harden off before taking cuttings. The best time to take cuttings is when the flowers are fully open and the petals start falling off. This ensures that the growth is firm enough to hold up to being cut off from the parent plant.
To propagate roses, you’ll need a standard one-gallon pot filled with fine fir bark, rooting hormone, and a clear plastic container like a two-liter soda bottle. The soda bottle acts as a DIY mini greenhouse, providing humidity and airflow to help the cuttings root successfully.
Here are the steps to take rose cuttings:
- Select Your Cutting: Choose a stem with firm growth. Cut below a leaf node where there’s a higher concentration of undifferentiated cells that will become roots.
- Prepare the Cutting: Remove leaves from the lower part of the stem and strip off any thorns.
- Apply Rooting Hormone: Dip the base of your cutting in rooting hormone.
- Plant the Cutting: Insert the cutting into your pot filled with fine fir bark.
- Cover with a Mini Greenhouse: Place your modified soda bottle over the cutting to maintain humidity.
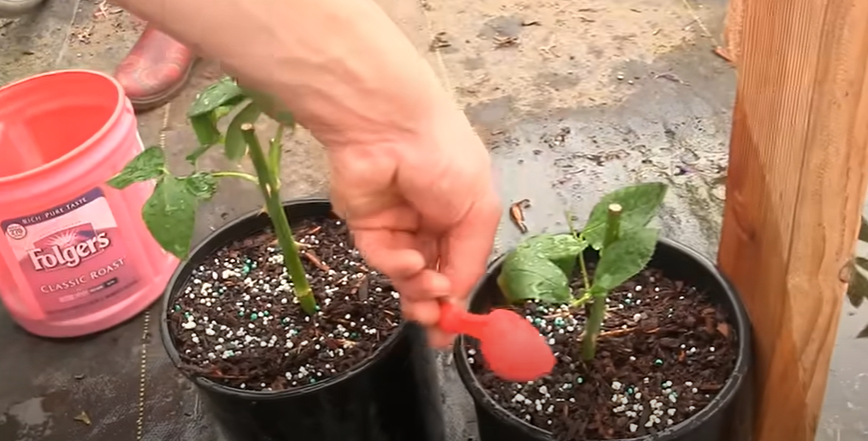
For successful rose propagation, moisture management is key. Ensure your soil is moist but well-drained. Temperature control is also important; keep tops cool and bottoms warm by venting heat through your mini greenhouse. Regularly monitor humidity levels by checking for condensation inside your soda bottle; spritz with water if necessary. Once roots begin developing, use a slow-release fertilizer to encourage growth.
Avoid common mistakes in rose propagation by waiting until flowers are fully open and petals start falling off before taking cuttings. Ensure you choose stems that are firm but not too woody, avoid overwatering by keeping soil moist but not waterlogged, and maintain a humid environment inside your mini greenhouse.
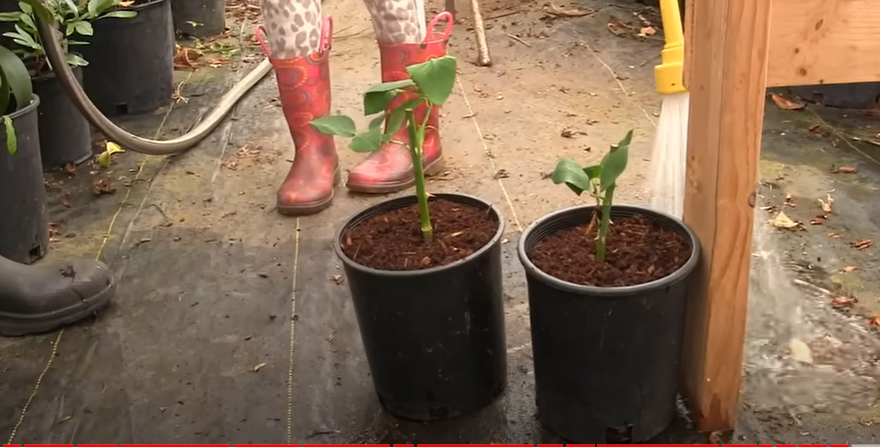
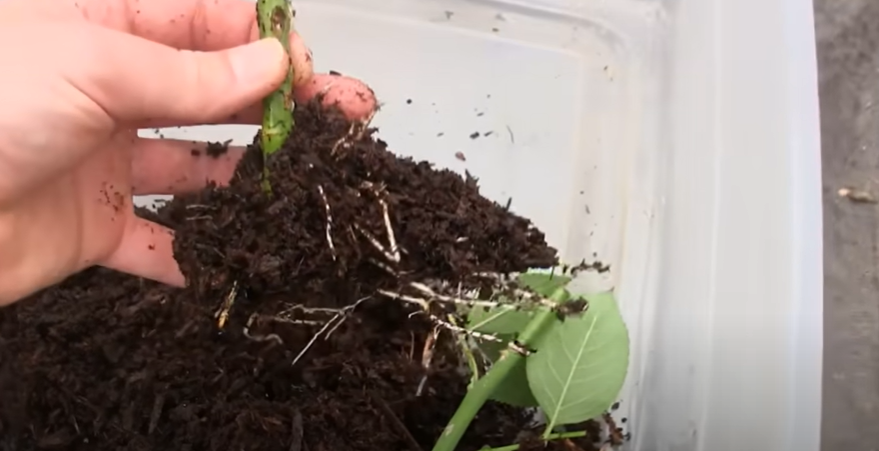
After planting your cuttings, keep an eye on them over the next few weeks. Typically, it takes four to eight weeks for roots to develop depending on the condition of the wood. Look for signs of successful rooting such as new growth or resistance when you gently tug on the cutting.
Once roots have developed, gently tease apart any intertwined roots and pot up your new rose plants in individual containers with fresh soil mix. Add a slow-release fertilizer to encourage growth.
Growing roses from cuttings is a rewarding process that anyone can master with a bit of patience and attention to detail. By following these steps and avoiding common mistakes, you’ll be well on your way to propagating beautiful roses for your garden.
Using proper techniques is essential for effective rose cutting propagation. Having clear propagation tools like fine fir bark and rooting hormone can make a significant difference in success rates. Also remember that home garden roses thrive better when they have been propagated using methods that ensure their robustness right from their initial stages.
DIY rose propagation techniques offer an effective way of growing new plants without having to buy them anew every season. With thoughtful practices like these, even beginners can experience the joy of seeing their garden roses flourish season after season.
If you found this guide helpful, please like, share, and subscribe for more gardening tips and updates on our rose propagation journey!